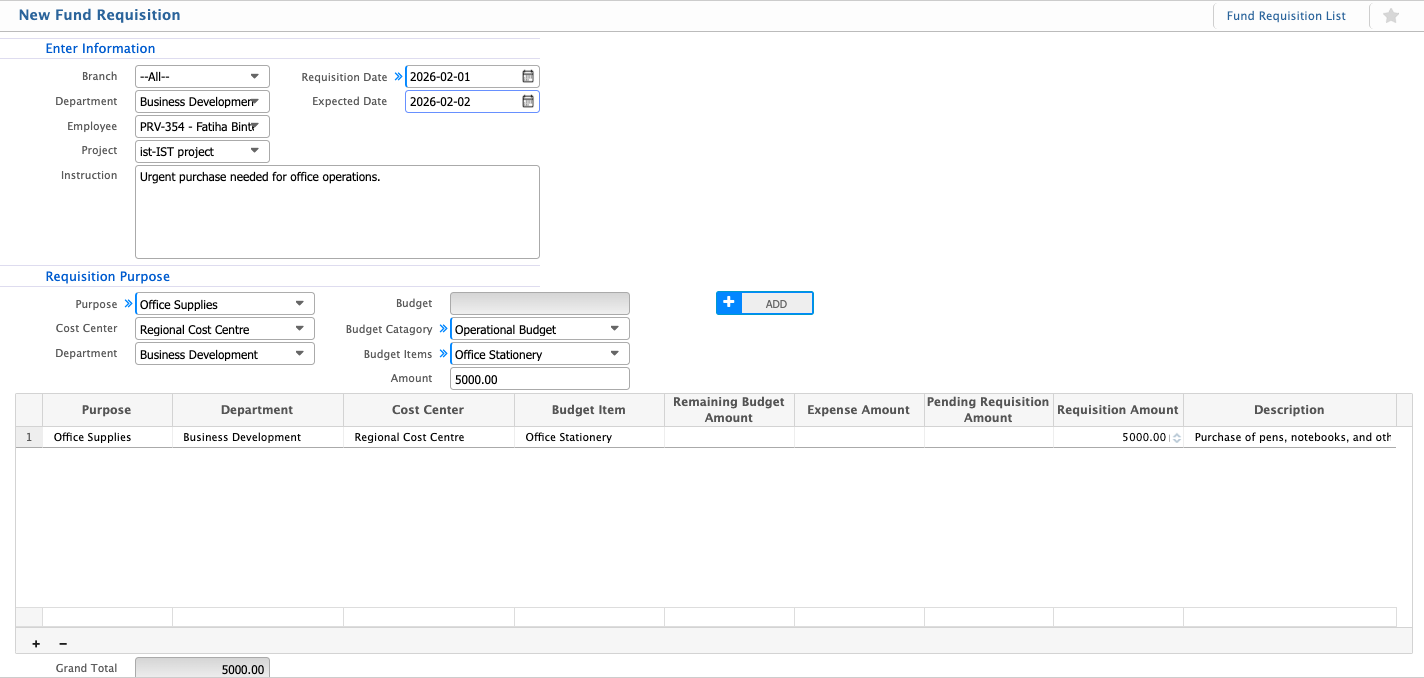
| Branch | Select the branch for which the fund requisition is being created. |
| Department | Select the department raising the requisition. |
| Employee | Select the employee submitting the fund requisition. |
| Project | Select the project associated with the requisition, if applicable. |
| Requisition Date | Enter or select the date on which the requisition is created. |
| Expected Date | Enter or select the expected date by which funds are needed. |
| Instruction | Enter any additional instructions or notes for the requisition. |
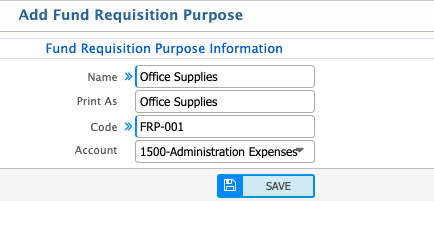
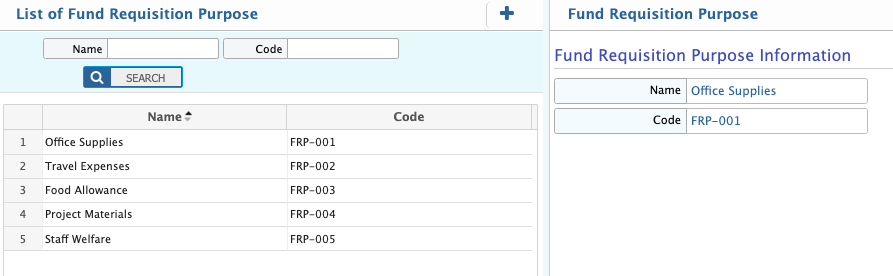
| Requisition Purpose | Select the purpose of the fund requisition. |
| Cost Center | Select the cost center associated with the requisition. |
| Budget | Select the budget allocated for the selected purpose. |
| Budget Category | Select the category of the budget under which this requisition falls. |
| Budget Items | Select the specific budget item for which the funds are being requested. |
| Amount | Enter the amount requested for the selected budget item. |
| Description | Enter any additional description or notes for the requisition item. |